
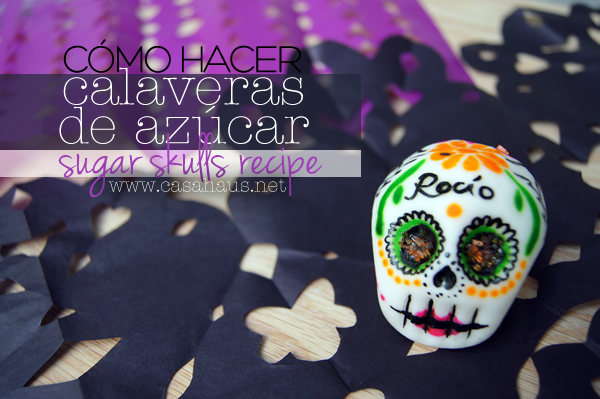
¡Hola a todos! Como muchos de ustedes saben, la semana pasada estuvimos haciendo unas tradicionales calaveras de azúcar para las fiestas de Halloween y Día de Muertos. Me encantó porque los ingredientes son muy fáciles de conseguir, los pasos son muy sencillos, y las calaveritas resultaron increíbles. De hecho, no usamos moldes, y se ven muy bonitas. Lo mejor de todo es que es ideal para niños grandes y pequeños. Mi hija y yo pasamos una tarde de lo más entretenida 🙂
La receta original la tomé de la profeco, aunque tuve que hacer pequeñas variaciones en las cantidades. Aquí te paso los ingredientes y las cantidades que me funcionaron a mí:
Hello everyone! As many of you might know, last week we made some traditional Mexican sugar skulls for the Halloween and Day of the Dead celebrations. I loved it because the ingredients are really easy to get, the steps are simple, and the “calaveras” turned out amazing. We actually didn’t use any molds at all, and they look really pretty. The best thing is it’s a perfect activity to make with kids. My daughter and I had a blast making them 🙂
I used the recipe from profeco, though I did vary some quantities slightly. Here are the ingredients and amounts that worked for me:

Estas cantidades son perfectas para hacer 3 calaveras de azúcar (no huecas).
I was able to make 3 non-hollow skulls out of these ingredients.

Hacer las calaveras de azúcar es muy fácil, pero para que quede más claro aquí les dejo el paso a paso en un video que preparamos para ustedes. Espero les guste 😉 (Quienes leen mis posts en su correo, tienen que visitar esta liga).
Making the sugar skulls is easy, but just in case, here’s a step by step video for you. Hope you like it 😉 (Those of you who read my posts in your mail, click here).
Pasos:
Para hacer las calaveras, primero coloca la media clara de huevo, la miel (o jarabe) de maíz, la vainilla y unas gotas de limón en un tazón, y mezcla bien con un tenedor o batidor de globo. Luego agrega poco a poco el azúcar glass, cerniéndolo con ayuda de un colador. Incorpora todos los ingredientes, primero con una cuchara, y luego con las manos hasta obtener una masa seca. La clave es que debes sentir la masa seca, como polvorón, ya que si su consistencia se hace más flexible, como plastilina, las figuras se irán deformando al secarse. Divide la masa en tres.
Para hacer las figuras, sigue manejando la masa hasta que puedas hacer bolitas del tamaño que quieras las calaveras. Si sientes la pasta demasiado seca, puedes agregar una gotitas de limón para ayudarte. No le pongas demasiadas para que la masa no se ablande, usa sólo las necesarias. Dales forma de pera invertida, y con ayuda de tu dedo índice haz los ojos. Para el hueco de la nariz, puedes usar la punta de tu pincel, mientras que para los dientes puedes apretar suavemente un tenedor sobre la masa. Si se te hace más fácil manejar la masa sobre una tabla o superficie, espolvorea fécula de maíz para que la masa no se pegue.
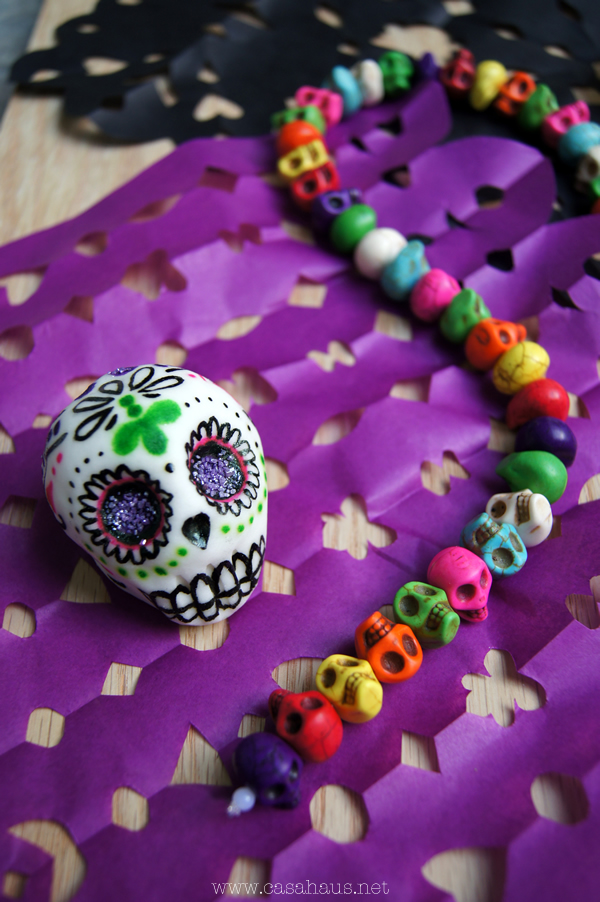
Deja secar las figuras unas horas (mínimo 3), y luego decóralas a tu gusto. Yo apliqué pintura vegetal en gel con pincel que funcionó como si fuera pintura, y espolvoreé azúcar de colores en donde quería dar toques brillantes, aprovechando antes de que secara la pintura.
Ahora deja secar la pintura por algunas horas, y disfrútalas, ya sea en tu altar, como regalos para tus seres queridos, o para darle a los niños en Halloween 😉
¡Espero te haya gustado! Recuerda que si haces éste o algún otro proyecto de Casa Haus puedes compartirlo en nuestra página de facebook 😉
How to:
To make the sugar skulls, mix the egg white, corn syrup, a few drops of vanilla and a few drops of lime with a fork in a bowl. Then sift the powdered sugar on the mix. Incorporate with a wooden spoon, and then use your fingers to form a rather dry ball. The key is to feel the dough a little dry, because if it’s very maleable you’ll shape it nicely, but the figure will deform as it dries. Trust me. Divide the dough in three.
To make the figures, keep working the dough with your hands. If you feel it is very dry, try adding a few drops of lime. Don’t add to many drops, just the ones you need to shape it into a ball. Using the tips of your fingers make the “eyes”, use the tip of your paintbrush to make the “nose”, and then use a fork for the teeth. If you want to shape the dough on a board, dust it with cornstarch first.
Let them dry for at least 3 hours before painting them. I used gel food coloring, which worked just as paint with the fine paintbrush, then dusted colored sugar on a few spots while the gel was still wet.
Let it dry again for a few hours, and enjoy using them for your altar, or as treats for friends and family this Halloween 🙂
I hope you liked it! If you try this or other projects from us, share them on our facebook page! Follow me on: youtube, google +, instagram, twitter, pinterest y facebook for more inspiration 🙂
fotografía: Rocío Jiménez
Sígueme en: youtube, google +, instagram, twitter, pinterest y facebook para más inspiración 🙂
]]>
Leave a Reply